Key Points
For all of us, whether we’re working out, driving or having things done around the home, podcasts are a favorite place to get our news or keep amused. Chances are that you probably have a favorite (or seven) that you constantly keep up with.
While any armchair broadcaster with a voice-recording app is ready to get into the game, it is not as straightforward to create a professional-sounding podcast. This guide will teach you how to make, record and publish a simple podcast of your own and get people to listen.
Being ready to commit before you start
It’s important to keep in mind, before you rush into things, that podcasts take a lot of effort to get going. It’s easy to assume that they’re easy to generate because most are just audio, but don’t be fooled. They can take a lot of time to put together, particularly when you start out for the first time.
Also, when they’re released consistently, podcasts do best. You have to be ready to release episodes on a regular basis if you’re interested in developing any kind of listener base. It may be a fun job to do podcasting, but it’s always work and should be handled as such.
Do not expect podcasting to get rich. It is possible to generate revenue from podcasting, but that typically requires advertisements and sponsorships and patrons, all of which can be obtained only after you have built up a large enough audience to make advertisers worthwhile.
Unless you already have an eager audience, if you are not interested in starting a podcast for the fun of it, or just to have your voice heard, you may not get much out of it.
The kit you’re going to need to start podcasting

Without equipment, you cannot launch a podcast, and good equipment can go a long way. This is what you’re going to need:
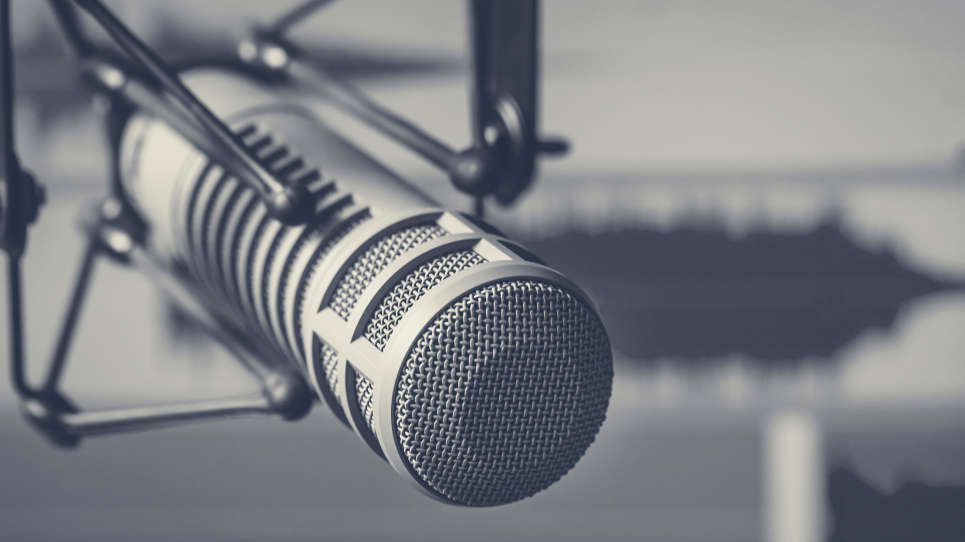
- Microphone(s): For recording your podcast, any microphone will work, but listeners can usually tell the difference between low and high quality microphones. (For my own podcast, I use four analogue Audio-Technica AT2020s). You will also need to decide whether you want to use a USB or analog (XLR) microphone as you shop around. USB mics convert analog sound into digital, so you can directly plug a USB mic into any computer and start recording without much hassle, but compared to analog, you could potentially get lower quality audio. They can be a little cheaper in the long run, considering you don’t need any additional tools or devices to record with a USB mic.
XLR connectors are used by analog microphones, which means that you need another device to get your audio to your computer, but you can get greater audio quality and use it with other sound equipment (if you had a PA system or wanted to play live music, for example).
Of course, if you have a gaming headset or other basic microphone around, you can easily use that to podcast, too, so long as the quality is decent. That won’t work well if you are co-hosting or plan to have frequent guests, as you’ll need multiple microphones to capture everyone.
- Portable XLR recorder (optional): If you’re planning to use analog microphones for your podcast, you’re going to need something to capture and convert your analog audio to digital. Multiple microphone channels can be captured by portable XLR recorders and allow you to adjust and mutate basic sound levels on the fly. Your audio files are automatically organized and stored on a memory card that you can insert into your computer’s card reader or slot.
These are amazing instruments, but they can be costly. Depending on how many channels and options you need, you can find them for anywhere between $100 and $500. (I use a Zoom H6 Handy Recorder, which costs $300-$350, with four available analog channels)
- Audio interface (optional): If you want your analog microphone to record directly to your computer, you’ll need an audio interface. These devices allow one or more analog mps to be plugged in and the analog audio is converted to digital. The majority of audio interfaces will connect via USB or USB-C to your computer. Depending on what you need, audio interfaces cost as little as $30 and are as high as $300.
- A Computer: To record, edit and upload your podcast, any Windows or Mac computer should work fine. Thankfully, it doesn’t take a ton of computing power to edit audio. In addition, your computer will also need the right ports, depending on how you choose to record, directly to the computer or to a dedicated recording device. For instance, USB microphones will obviously need an open USB port.
- Software for audio editing: You’ll need a Digital Audio Workstation for actual recording and editing (or DAW). There are a lot of good options out there, but the licenses are not free for most. Depending on the features you want, professional-level DAWs like Reason cost anywhere from $99 to $599, while Pro Tools run $29-$79 per year.
- Pop filters (optional): The clearer the sound of your audio, the better. While not required, pop filters are fairly inexpensive and can keep your plosives from making a nasty sound on your recording. It’s easy to make some of your own if you don’t want to purchase any.
Maybe you think all this equipment is pretty costly, and you’re not wrong. Nevertheless, bear in mind that if you take care of it, proper audio equipment will last forever. At the beginning, it can be pricey, but after the initial buy, you’re done.
Narrow your subject and locate your niche
There are a lot of podcasts out there, meaning you can actually already find a show on everything under the sun. Don’t get disheartened! While almost any large subject is already covered, in order to make an old concept anything different, you just have to find your twist on it.
For starters, if you want to make a music podcast, ask yourself if there’s an audience out there for what you want to talk about. You could narrow the definition down from music in general to bluegrass in particular. Now your coverage is specific: bluegrass music, people, and culture.
It helps to put a twist to it until you get the subject narrowed down. Maybe you’ll chat to your co-hosts about bluegrass music and traditions while sipping moonshine. It’s sort of true that it’s all been done before, but not anything has been done the way you can do it. The more your enthusiasm shines into your podcast, find an approach that is fascinating and entertaining, the more tuned in people will be.
Upload, set up, and install Audacity

As stated earlier, for podcasting beginners, Audacity is a great DAW. It is open source, available for Windows, macOS, and Linux, and free to use as long as you want.
There are a few tricks to making it all set up correctly so you can hop into recording:
- Download Audacity 2.4.1 and install it.
- Attach and open the Audacity microphone.
- See if Audacity knows the microphone by checking the drop-down menu next to the little microphone button. Go ahead, if you see your mic, and pick it.
- The pause, play, interrupt, skip back, skip forward, and record buttons should be visible in the top-left corner. To make sure it’s working right, press the record button and speak into your mic.
- To make sure it sounds okay, stop capturing and reproducing what you just heard.


